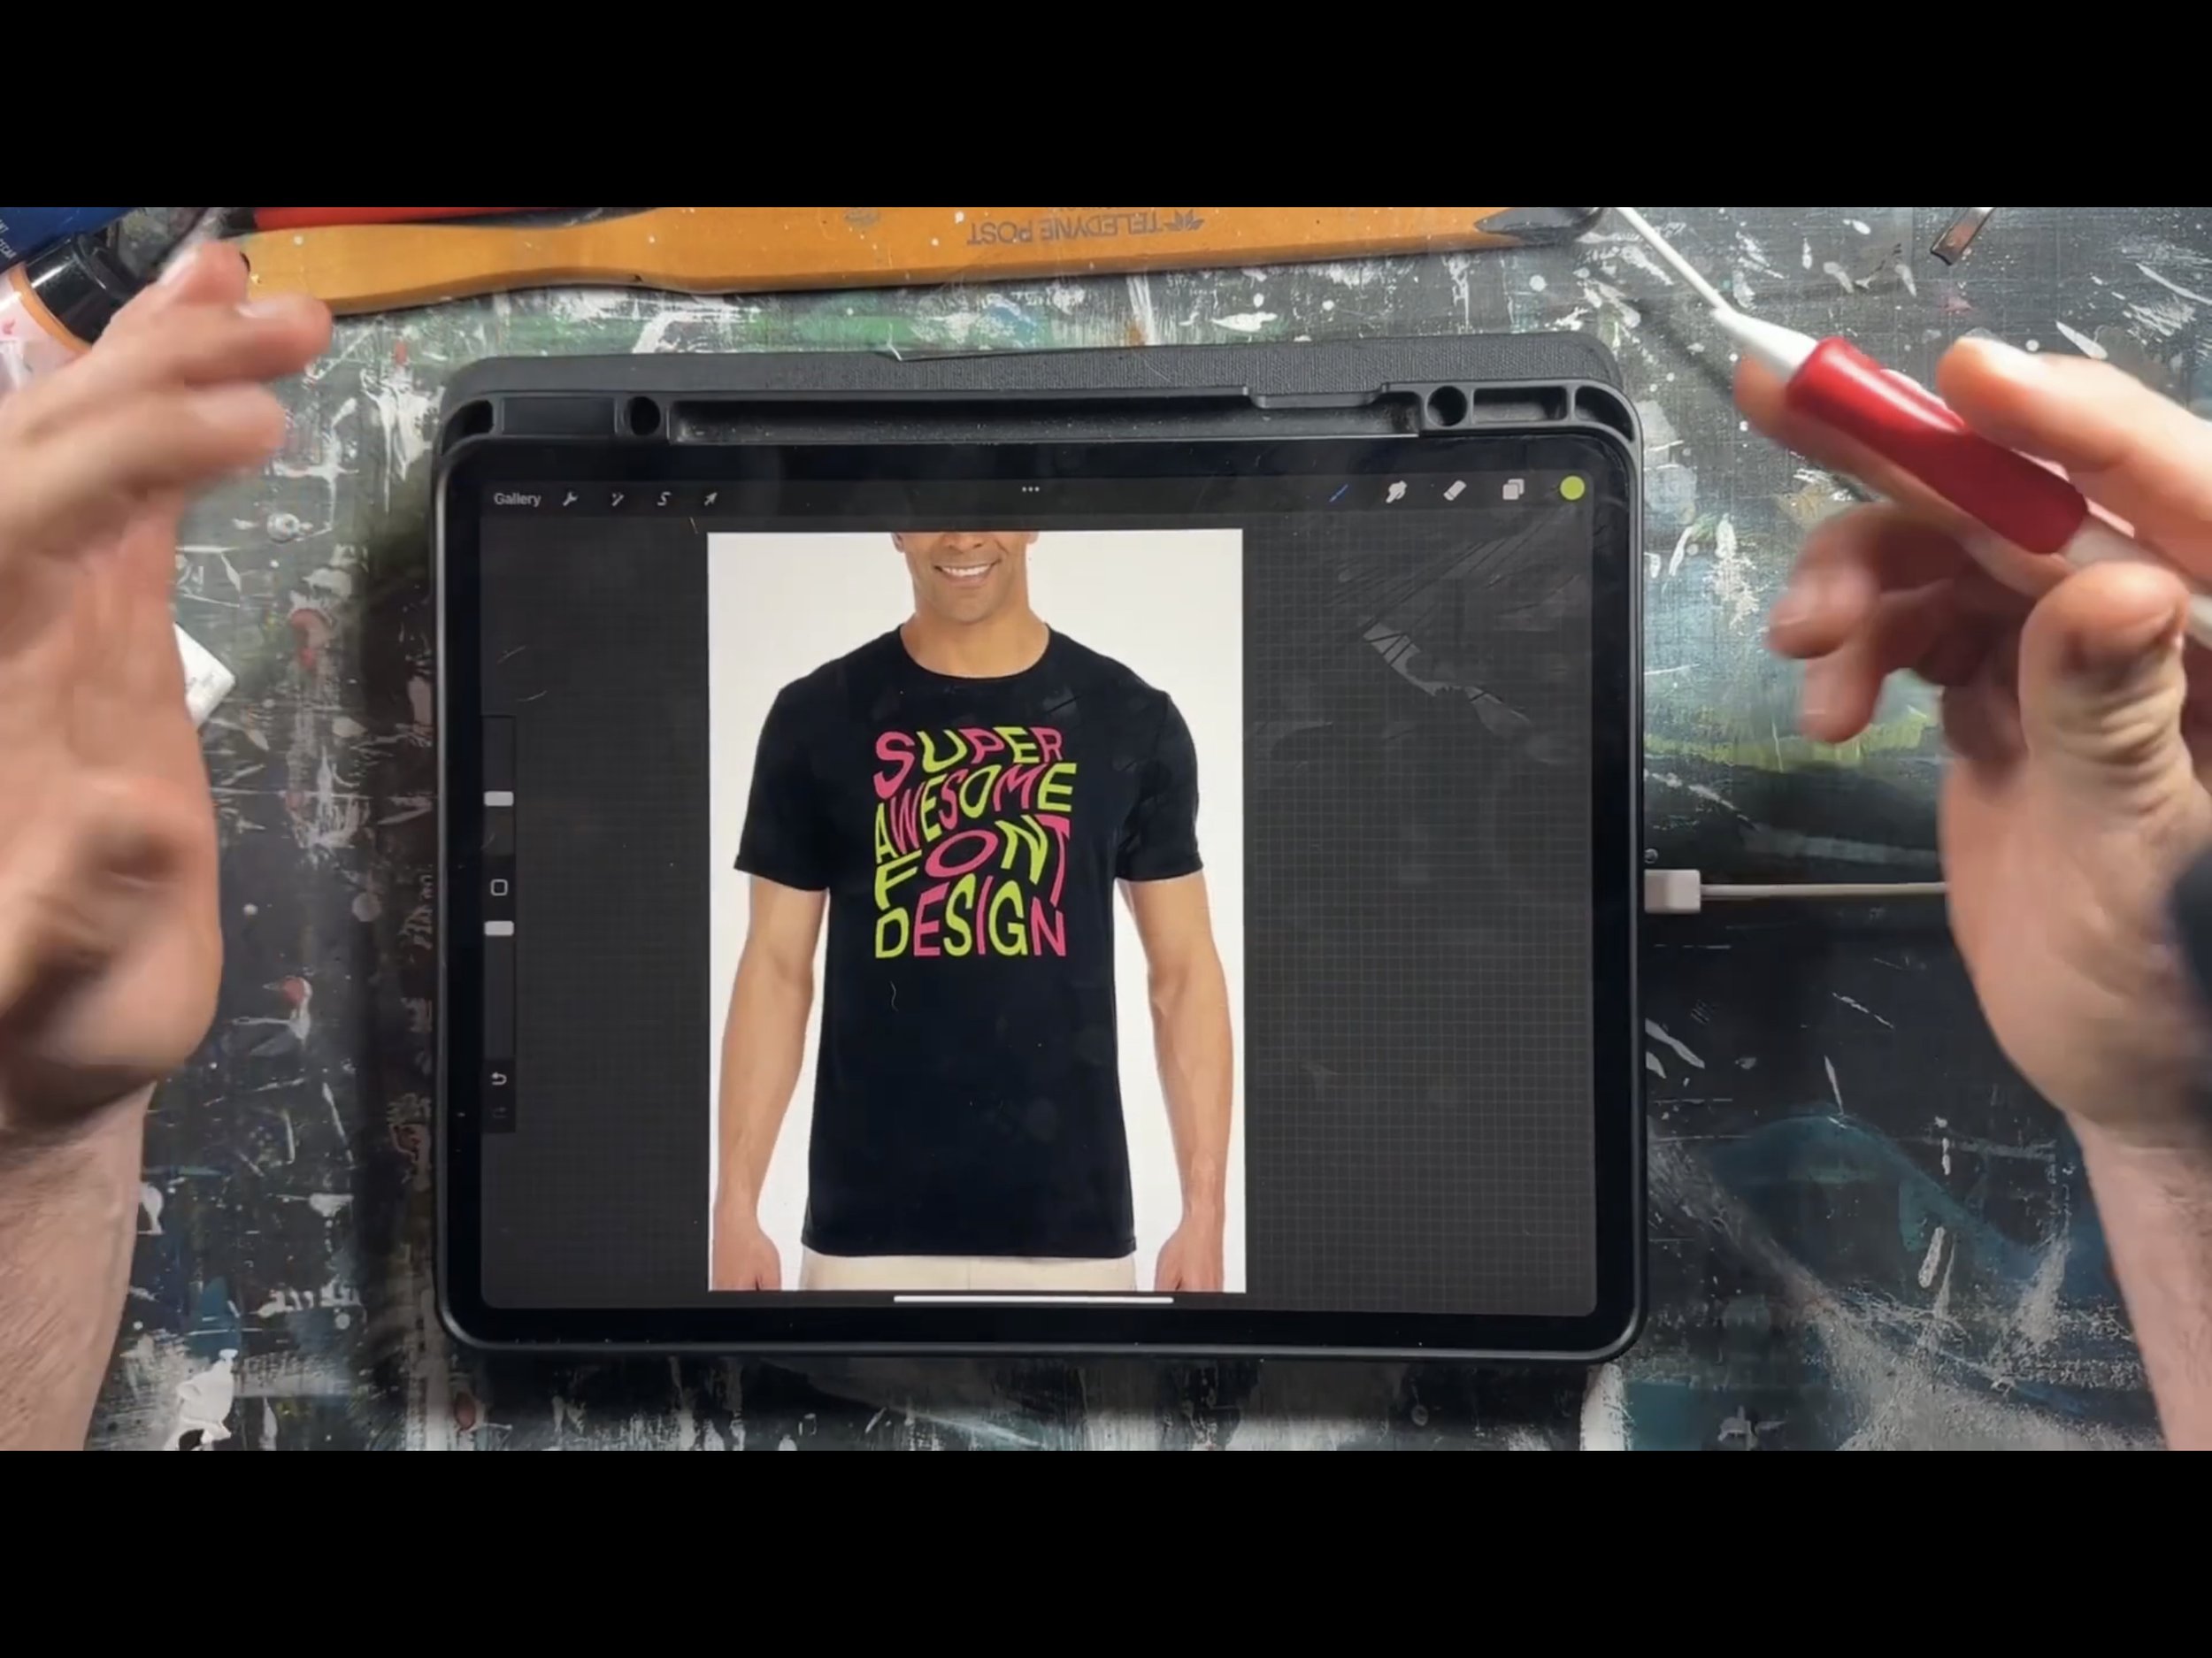
How to warp text in Procreate
Watch the full how to video on my youtube channel:
https://youtu.be/kwrcAQLixjs
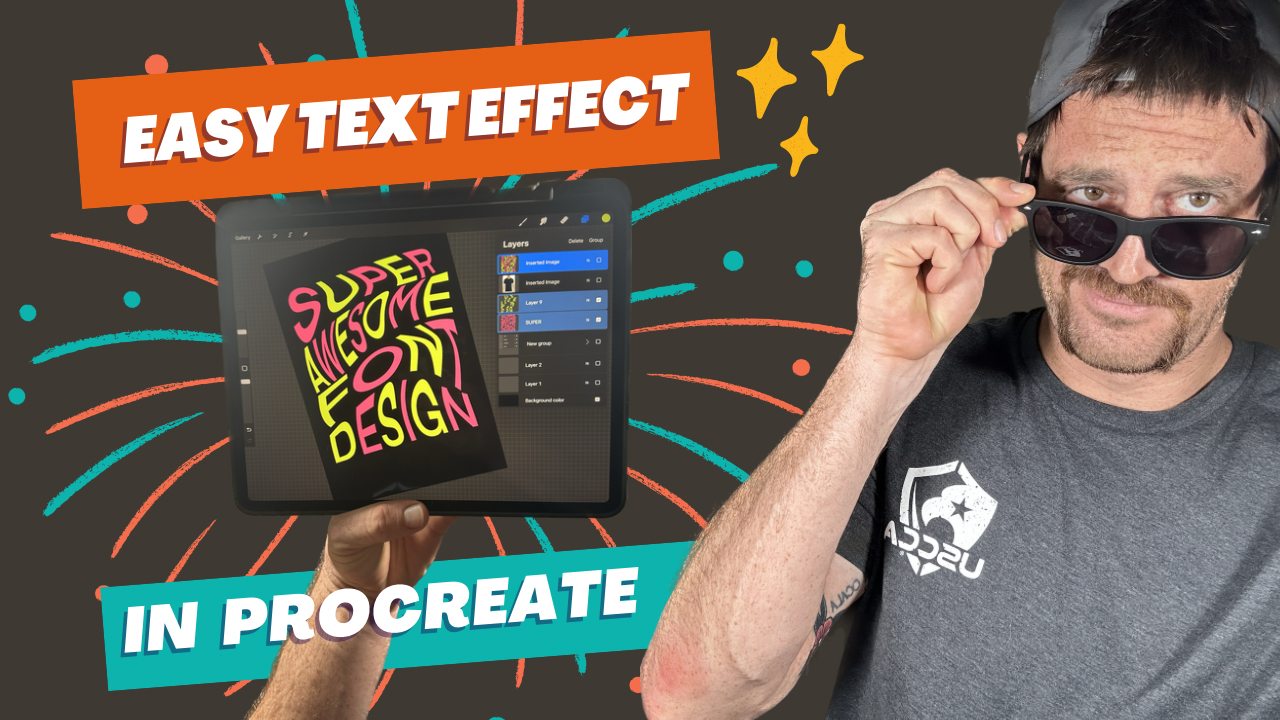
When you're working in Procreate, you may find that you need to warp text layers to get them to look just the way you want. It's actually a very simple process, and in this article we're going to show you how to do it. In this article I demonstrate how to add text layers, use the distort tool to warp the text and finally how to export your artwork onto mockups, all within the Procreate app. Watch the full how to video on YouTube.
Step 1 - Creating your text layers
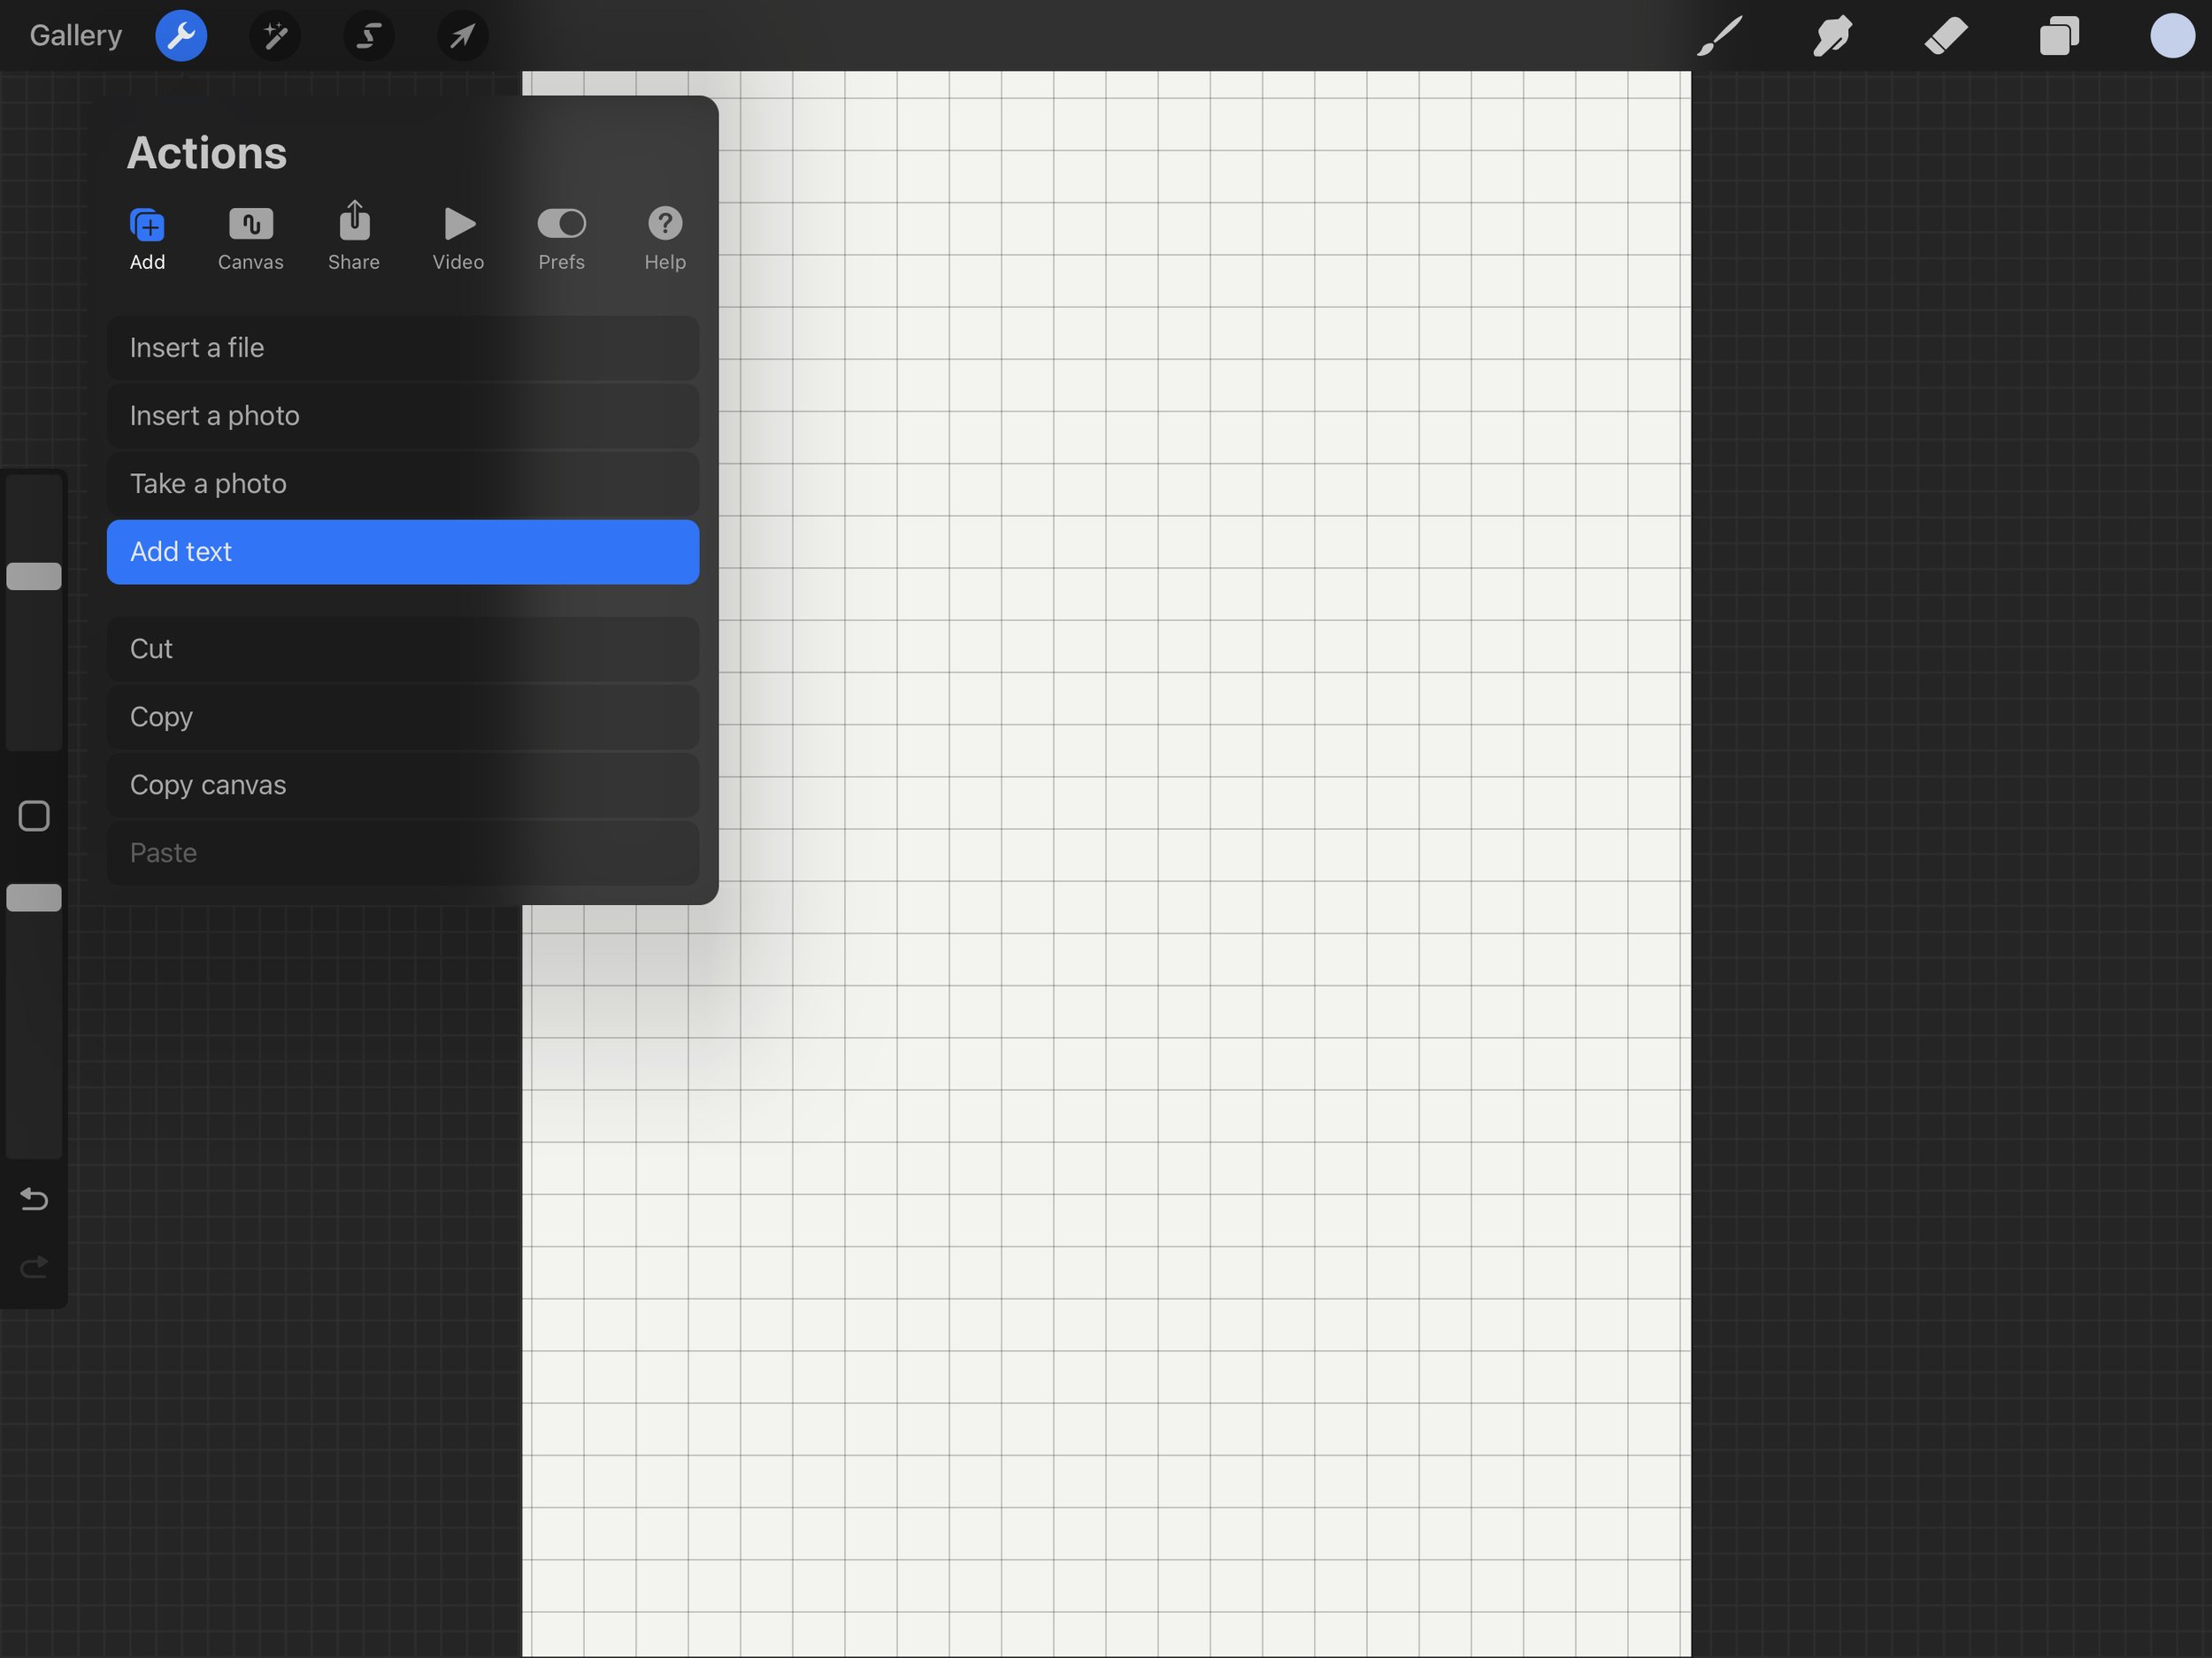
Click the Wrench icon in the top left. Next click “+” and finally “add text”.
Step 2- Duplicate text layers
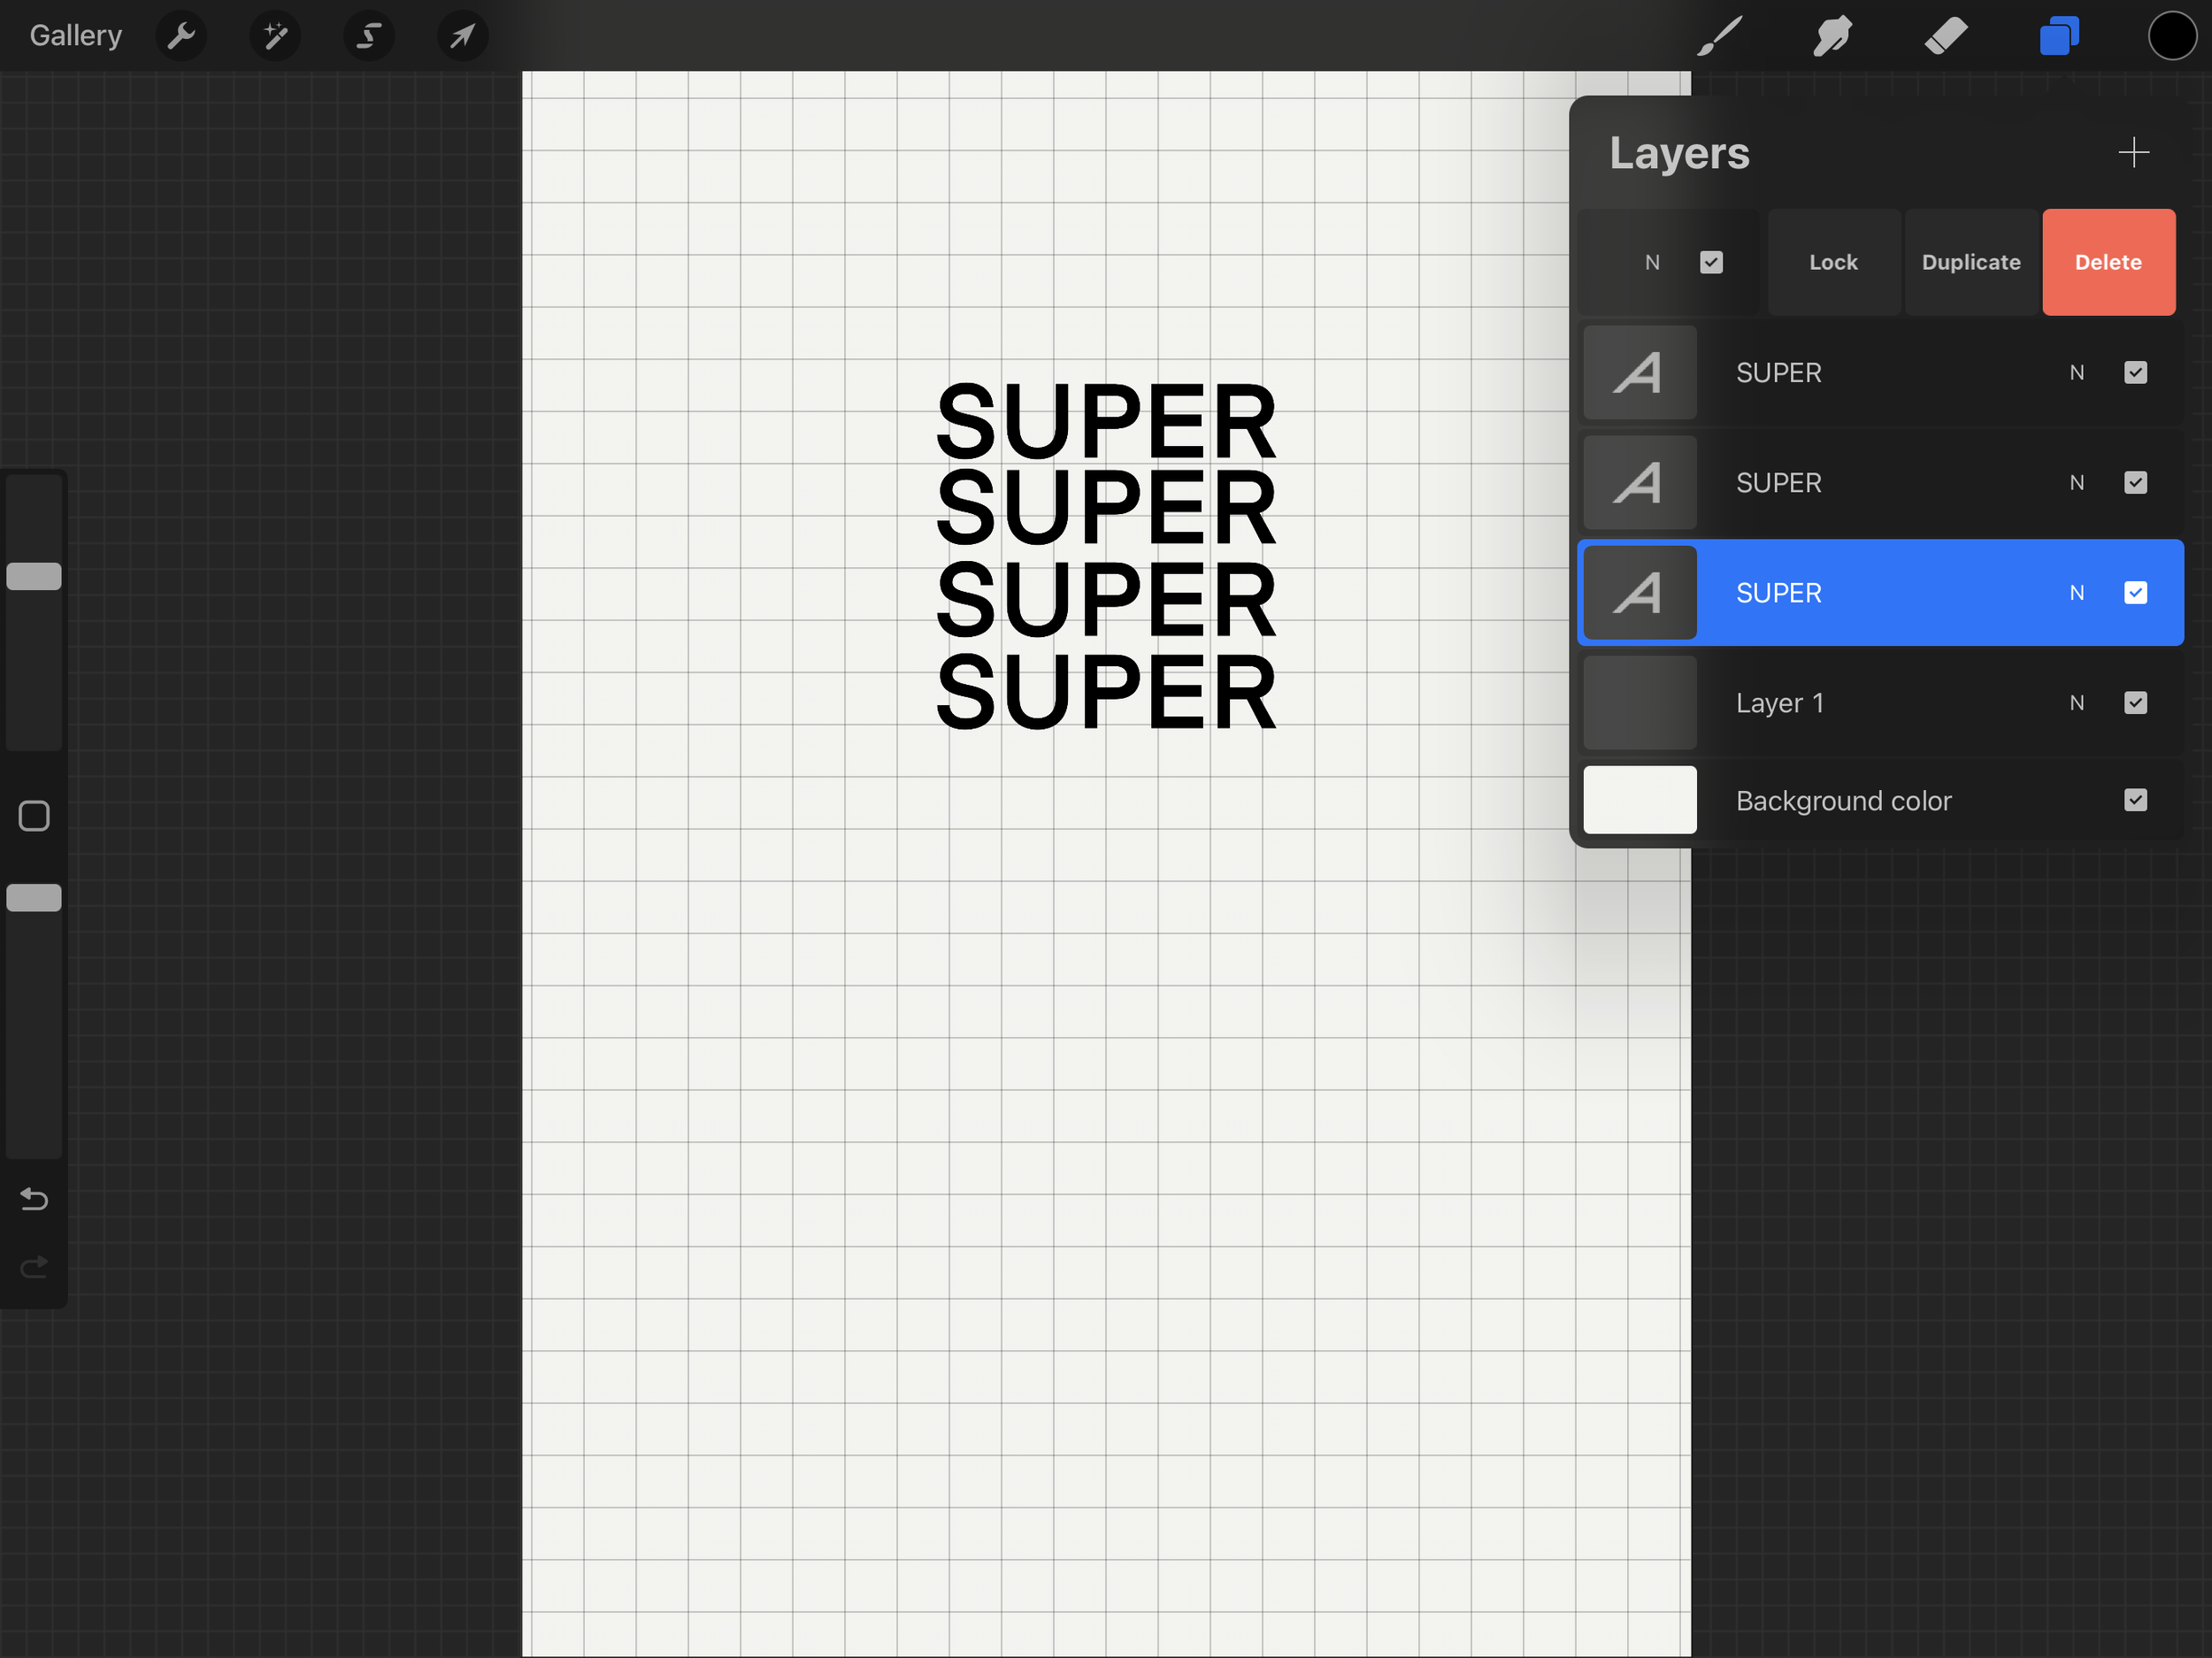
If you want to warp each layer of text individually, you'll need to first duplicate your text layer so you have 4 separate layers of text . This way, you can easily adjust each layer to get the desired effect. You can slide you finger on the text layer and quickly duplicate it from the slider menu.
Step 3- Stack text layers into rectangle
To get the desired effect, adjust each text layer to evenly fix into a rectangle shape. Now you are ready to warp!
Step 4- Wrapping Text
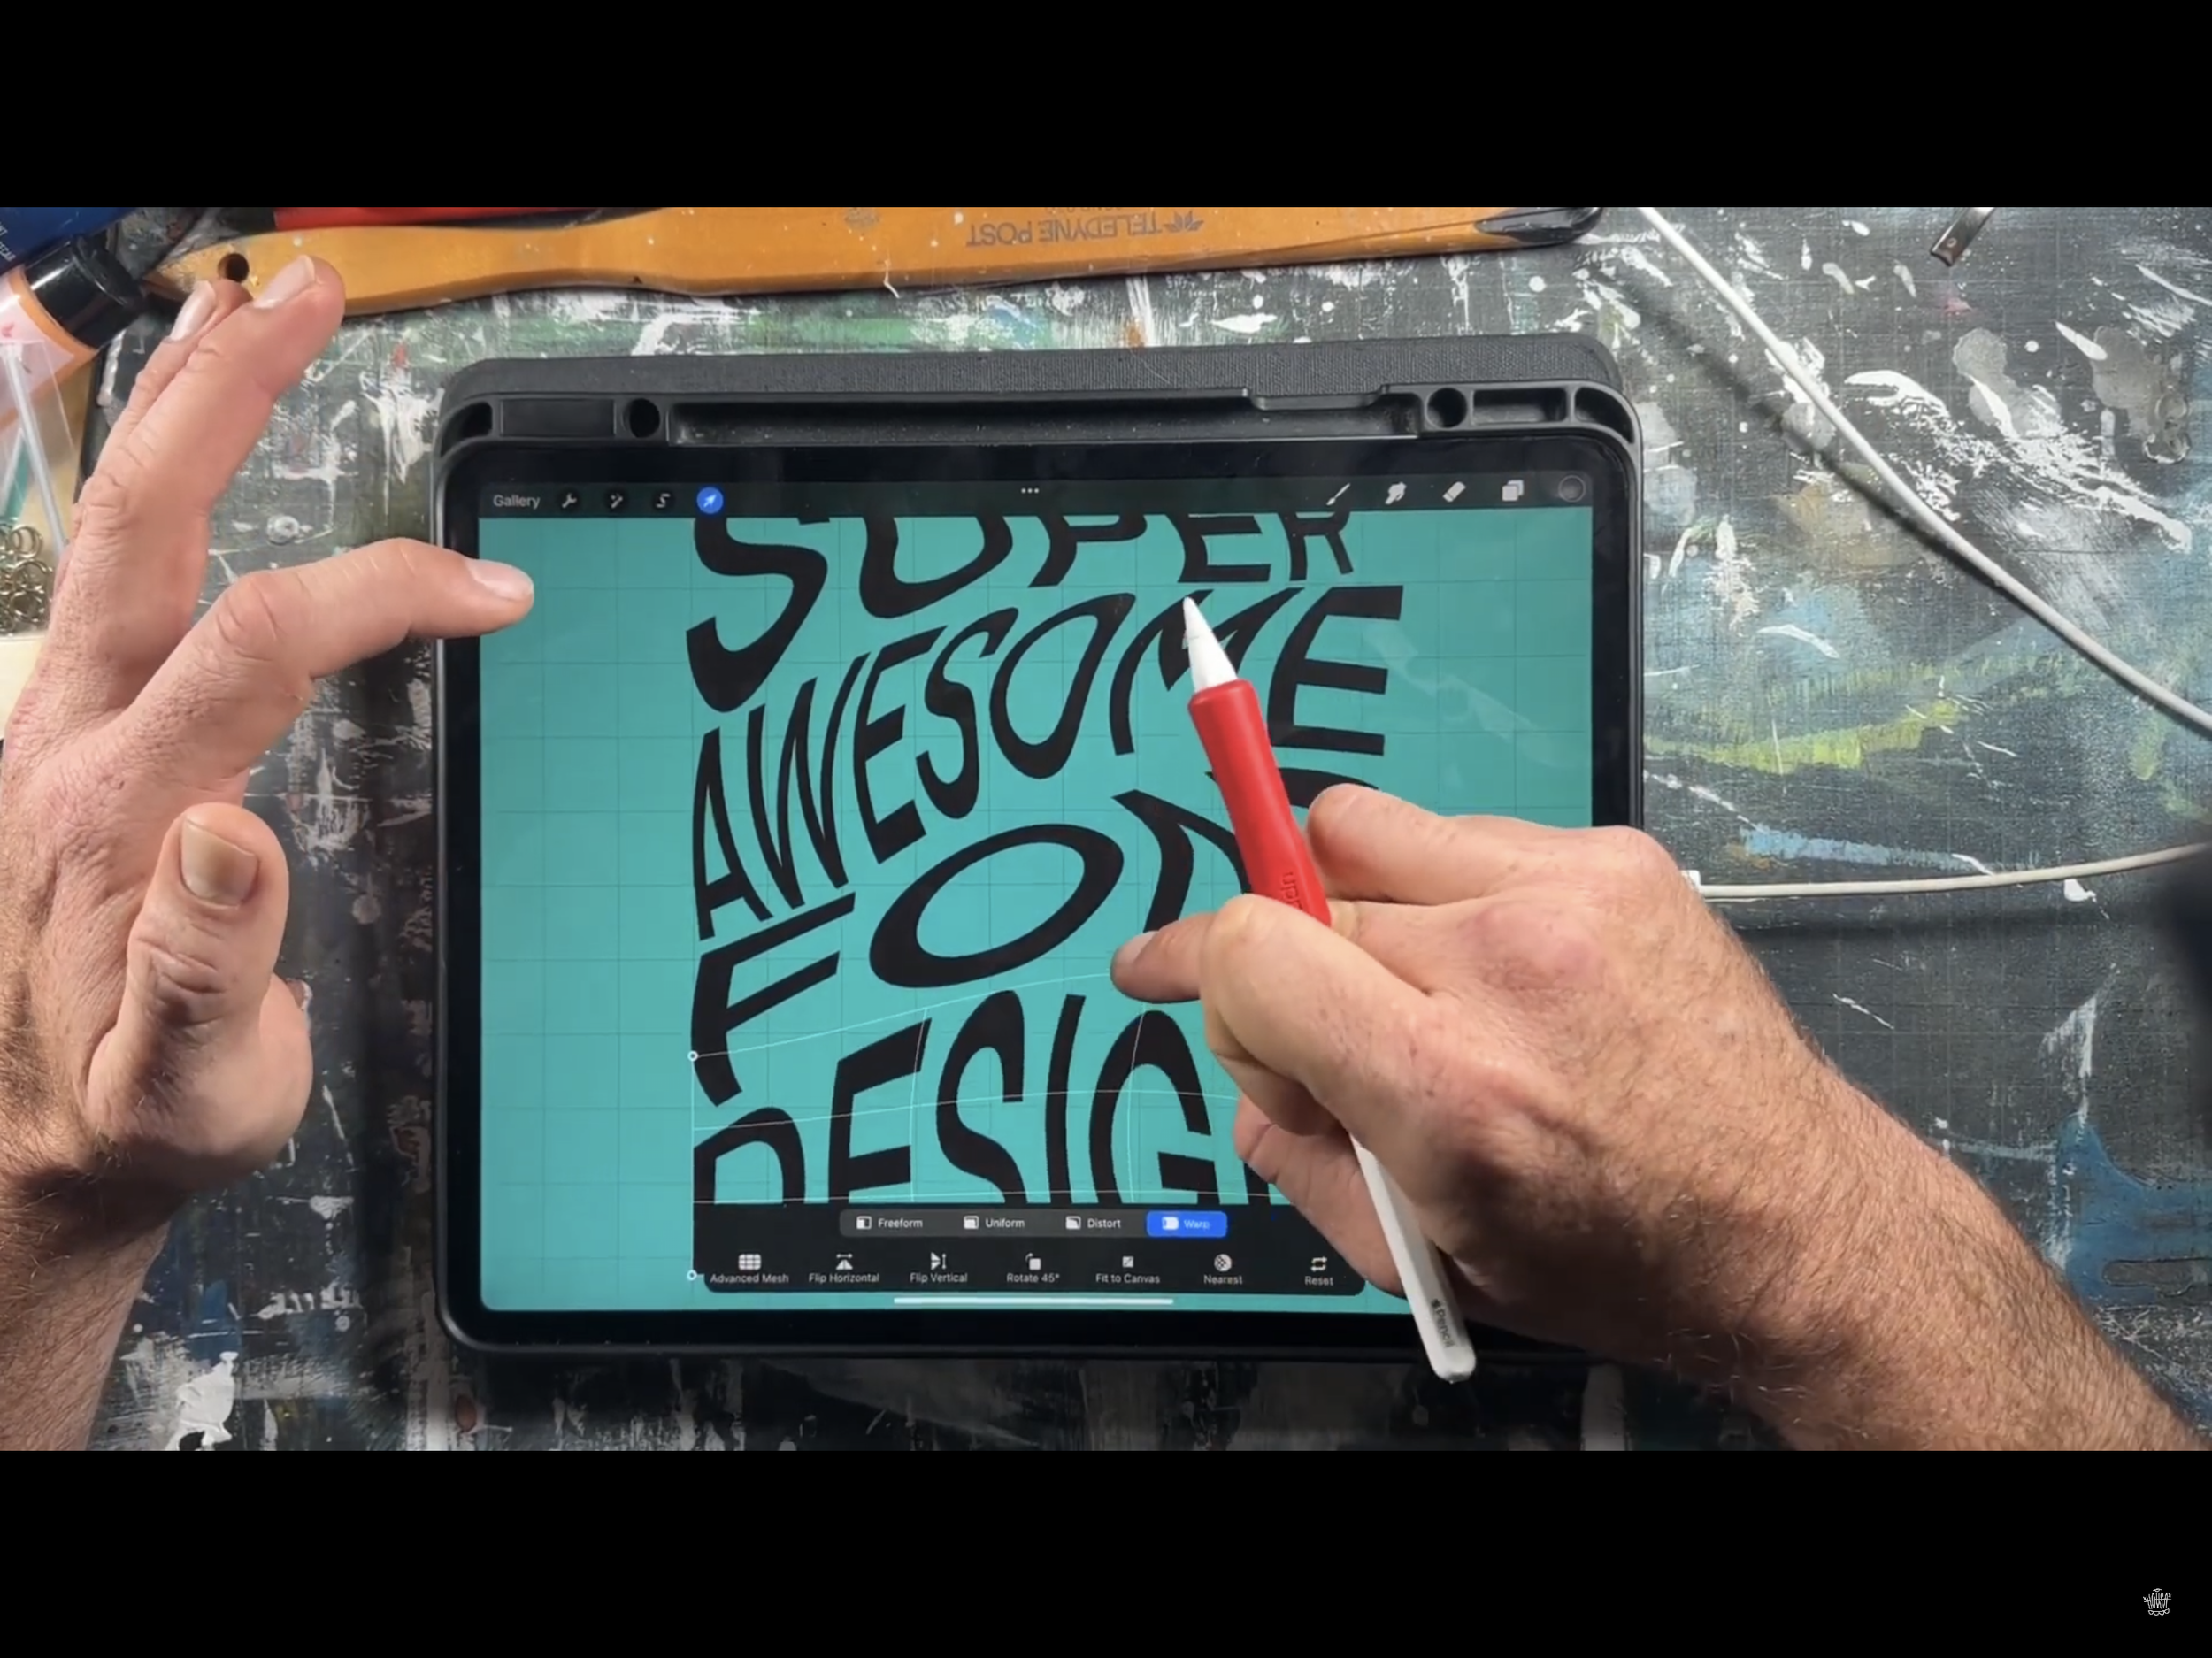
With you text layer selected, click the mouse cursor icon, then select “Distort”. Start pulling at the wireframe around the text to give each text layer motion while keeping it legible. Repeat your distort for each layer until text is wrapped to desired effect. Please watch the full video to see how I wrapped this example text.
Step 5- Quick Color
For the fun part, coloring! Before you color anything group your layers, duplicate the group so you have two group of the same. Make on the the group a single layer by pinching your fingers together ( like you you zooming in, except do this by touch the layers) This will create one layer our of the 4 operate layers. Now we can quickly drop a color into the text. Choose your color, you will see a circle in the top right on the screen showing your newly selected color. Click and drag this color circle onto the text you have created, hover your finger or pencil over the shape until it is filled. Do not life up your pencil and side it to the right. This will automatically flood the text shapes in the layer with your color.
Step 5- Shirt Mock up
Now we are going to export this design as a png file and place it on a shirt mock up. First uncheck the layer called background, this will make your design transparent, with now background. Click the wrench again and press “Share” then select “PNG”. Save this to your photos album on your iPad. Next, I quickly took a screen shot of a blank black shirt. Then added this photo into my procreate template the same way I added text but, select “Add Photo” and import desire picture. Then repeat this process but select the PNG file you exported. Now you can adjust the size of each layer until you have a professional mock up for your shirt design all within procreate. If this was helpful please like a subscribe on my youtube channel for more art and design content.

